How to rip assets from Shockwave games
Disclaimer: This tutorial was extensively updated on 23-11-10. If you want to access the previous version (which used Director + CastRipperTool + MovieRestorer), click here. I take no credit for any tool used in either tutorial.
Introduction
So, you want to rip assets from an old Shockwave game. You already have a copy of the game's folders and files, but there are no assets to be found -- or at least, not the ones you want. Fear not, for there is a way.
Shockwave games were made using a program called Macromedia Director. Director can open .DIR files (called "movies", which work like the scenes of your average game engine) and .CST files (called "casts", which are collections of assets). However, it's far more likely that your game contains .DXR and .CXT files which are protected and can't be easily opened, or perhaps a single .DCR file which is compressed and provides similar difficulties. Previously, we had to do a whole song-and-dance in order to handle these different kinds of files, but not anymore: with the launch of n0samu's DirectorCastRipper, the process has become the same for every Shockwave format.
The only exception is if you have a .EXE file. In this case, please follow these instructions before proceeding. (Click here)
Aside: extracting assets from .EXE files
Directly from Greg Kennedy's tweets:
Sometimes the Projector .EXE file contains embedded .DIR / .CST files with more stuff inside. To get those, you can use this Python script to dump them. Then you can use this process to retrieve the resources inside.
The script is fairly straightforward to launch, but it requires using a Terminal and running a Python script. Explaining it briefly: you have to install Python's latest version, open a terminal (press Windows+R and type "cmd.exe"), and then run the python shock.py application.exe command (replacing "application.exe" by the full path name of your .EXE file, between quotation marks). The embedded Director files will be created in the .EXE folder; these are the files you will use from now on throughout the tutorial.
Step-by-step
First, download the latest version of n0samu's DirectorCastRipper in the repository's Release page. As you can see, there are two variants: "DirectorCastRipper_D10.zip" and "DirectorCastRipper_D12.zip". The difference is which version of Director was used to build the program; basically, D12 is newer so it can handle Shockwave 3D, while D10 does not have that capability but may be more compatible with older files. So I'd suggest downloading D12, and trying out D10 if something goes wrong.
Next, unzip the file and open "DirectorCastRipper.exe". You will see a friendly window like this one:

Then, either add your files through the "Add Files" button, or drag-and-drop them from Windows Explorer. (In the official README, n0samu recommends loading the Shockwave files from their original folders, in order to minimize errors due to missing references.) Then click "Next", and you'll be faced with the following screen:
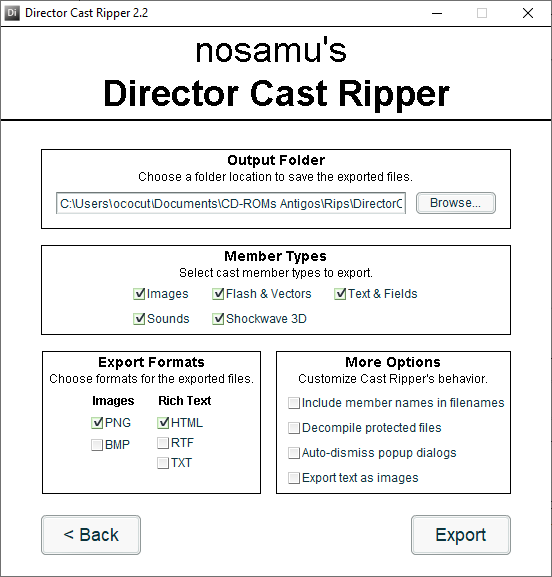
You can change the output folder if you like (or any of the remaining configurations), but the default settings tend to work very well for me. The only exception is "Include member names in filenames", which I prefer to enable since I like to see the asset names given by the developers.
Then, click "Export" to start the exporting process. You will see a progress bar which will update as the extraction happens. During this process, it is possible that you will face a "Missing Xtra" warning, like this one:
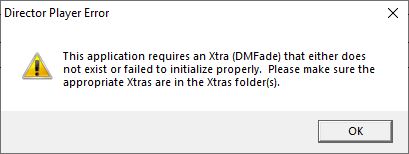
This warning won't stop the extraction process (in general), but it may mess up the extraction of some of the files. Basically, Xtras are plug-ins for Macromedia Director, and the Shockwave program you're trying to extract used a specific Xtra (in the above image, "DMFade") that DirectorCastRipper doesn't know anything about. So in order to get rid of this error and run a smoother extraction, you just need to:
- Go to the folder where you got the Shockwave files;
- Search for any Xtras (that is, files with the ".x32" extension);
- Copy/paste them to the "DirectorCastRipper_D12/Xtras/Xtras/ThirdParty" folder;
- Reopen DirectorCastRipper;
- Restart the extraction process.
Now the "Missing Xtra" warning should have disappeared! If, however, it didn't work for any reason (for example, if you don't have access to the Xtras, or if the Xtras you want aren't there), then you can simply select "Auto-dismiss popup dialogs" at the extraction configuration screen in order to stop the warnings from appearing.
Finally, if everything went well, you'll see the following pop-up:
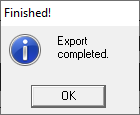
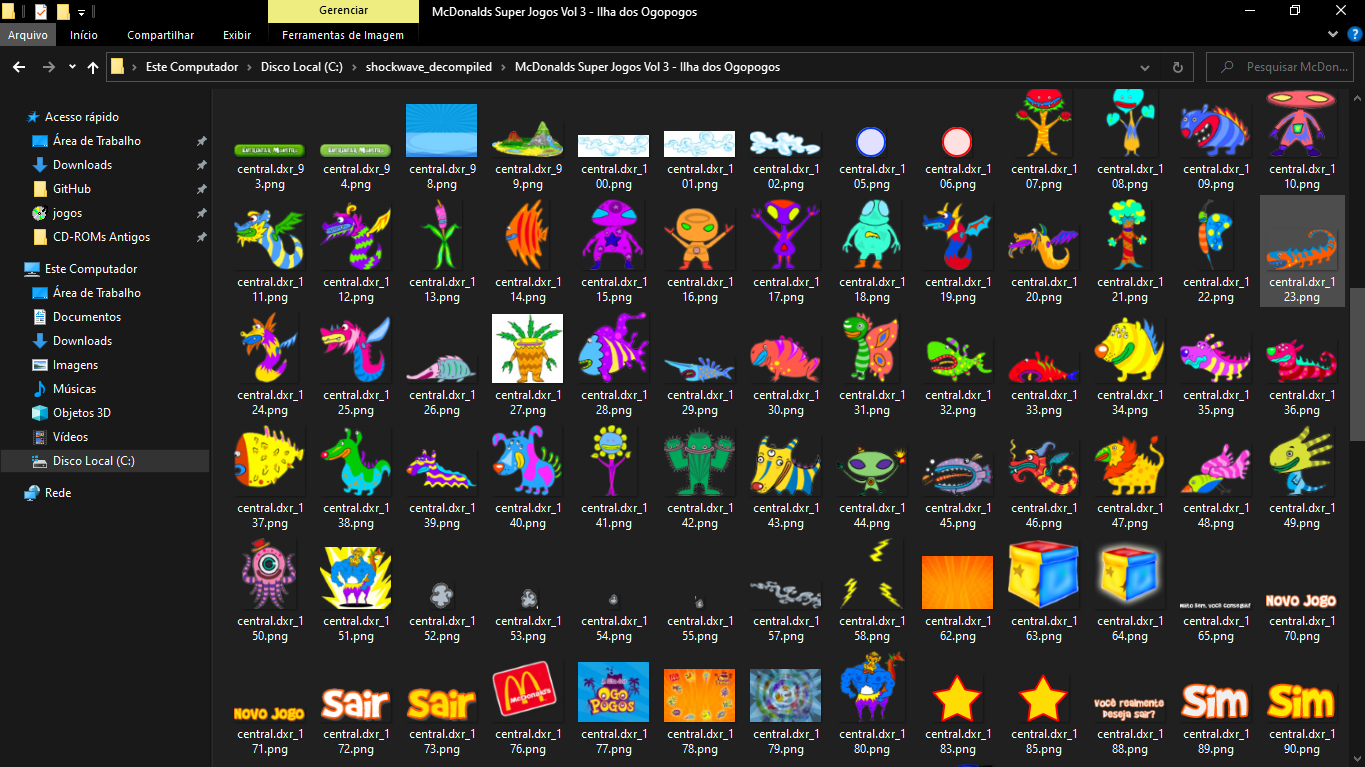
And those sweet, sweet assets will be waiting for you in the output folder! Easy, right?
Conclusion
Well, if it's easy, you should thank n0samu for creating this wonderful tool -- the previous version of this tutorial required so many specific button clicks that it looked like the walkthrough to the true ending of a visual novel. In fact, we should thank all the people without whose work this process would be much more difficult -- if not impossible! n0samu has a list of credits here, and I, for one, am deeply thankful to every one of them.
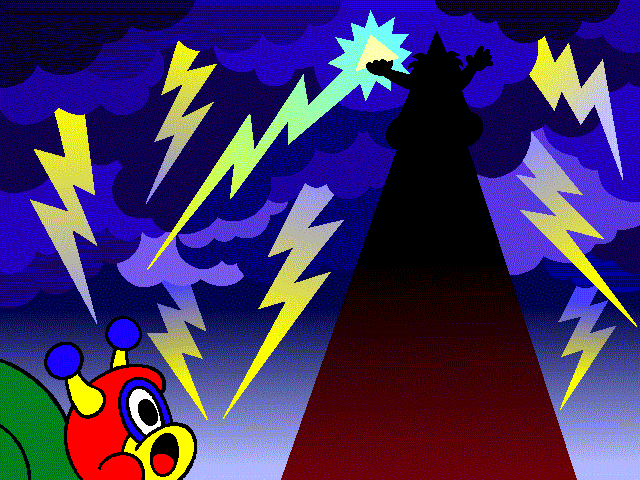
If you find any errors in this tutorial, feel free to message me. If it doesn't work for you, I suggest asking for help at the Shockwave discord, since I'm no expert in the field and they will be much more equipped to assist. But if everything worked out, I'm happy for you! Have some ripped assets from Caracolino (1997).